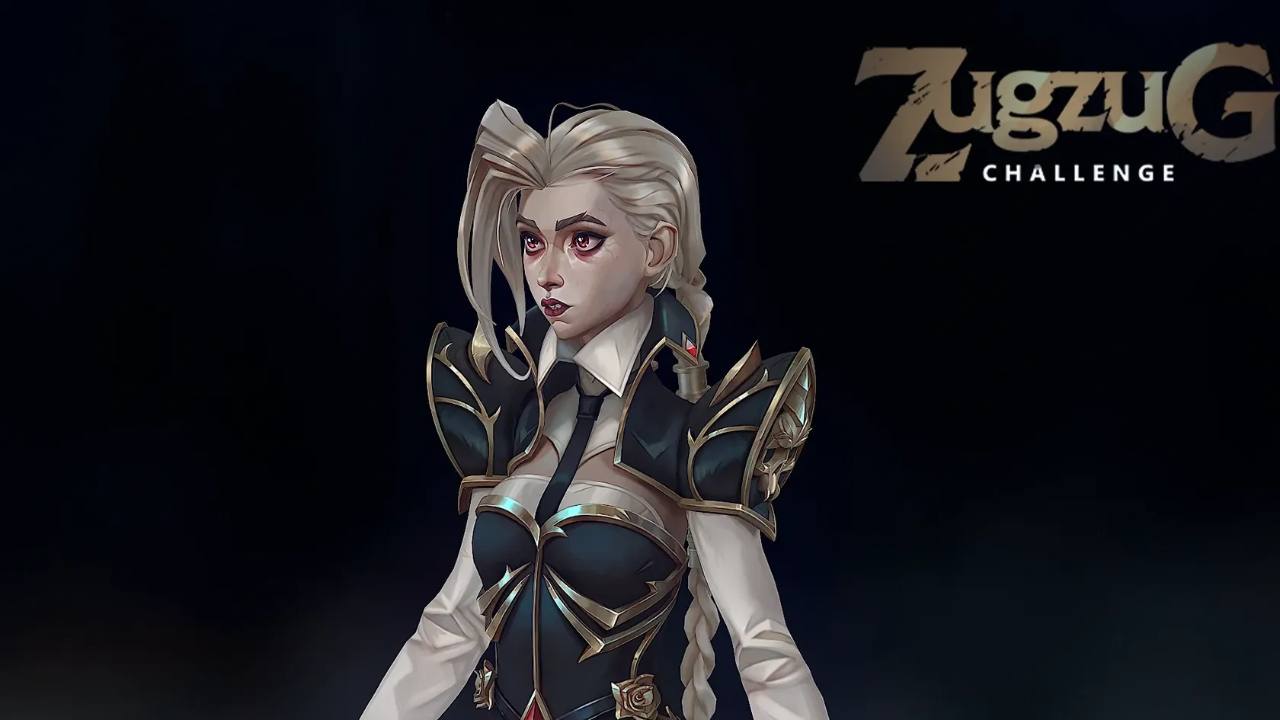
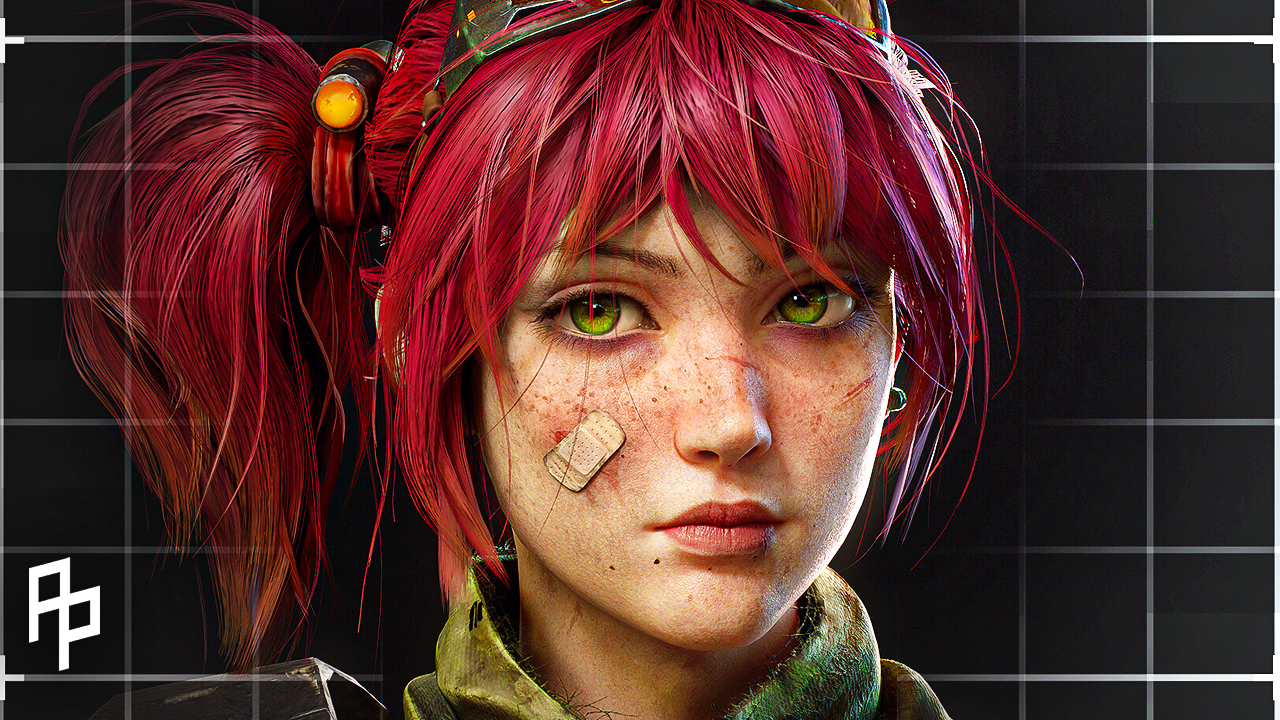
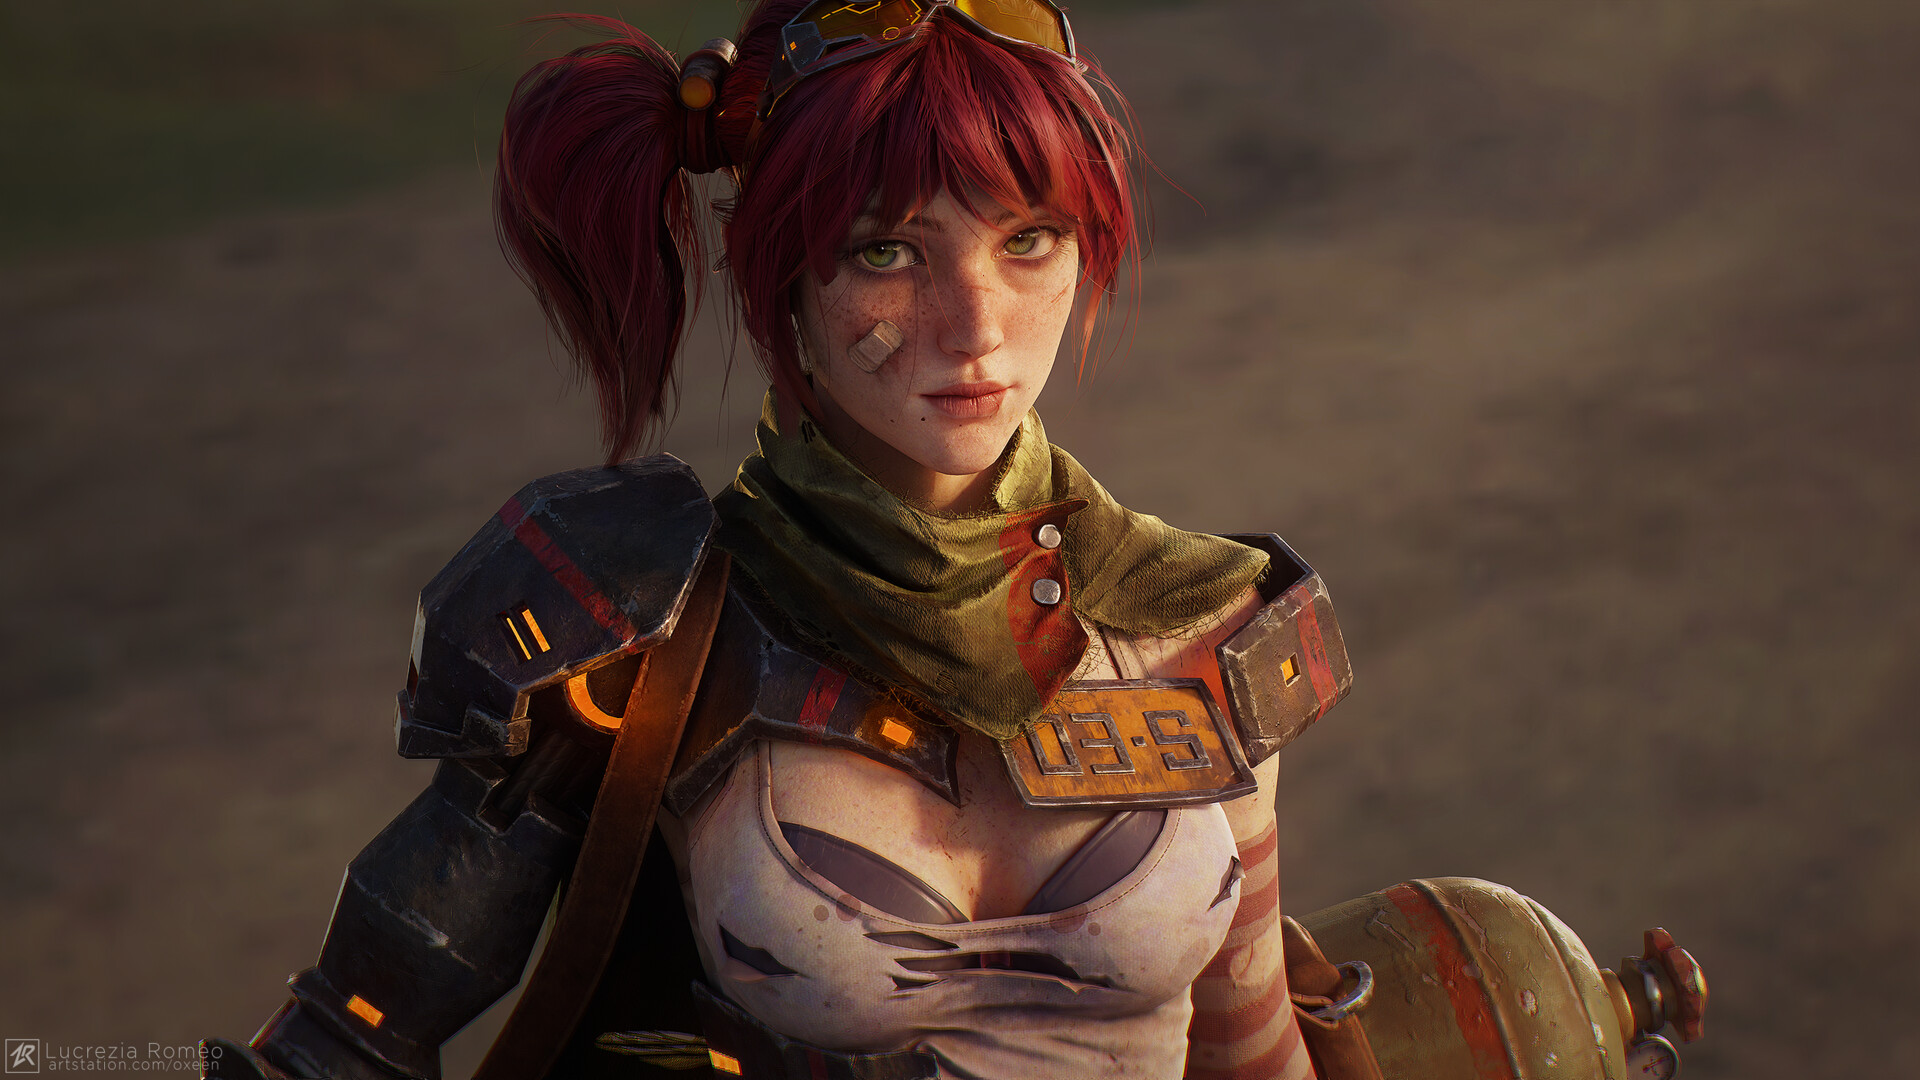
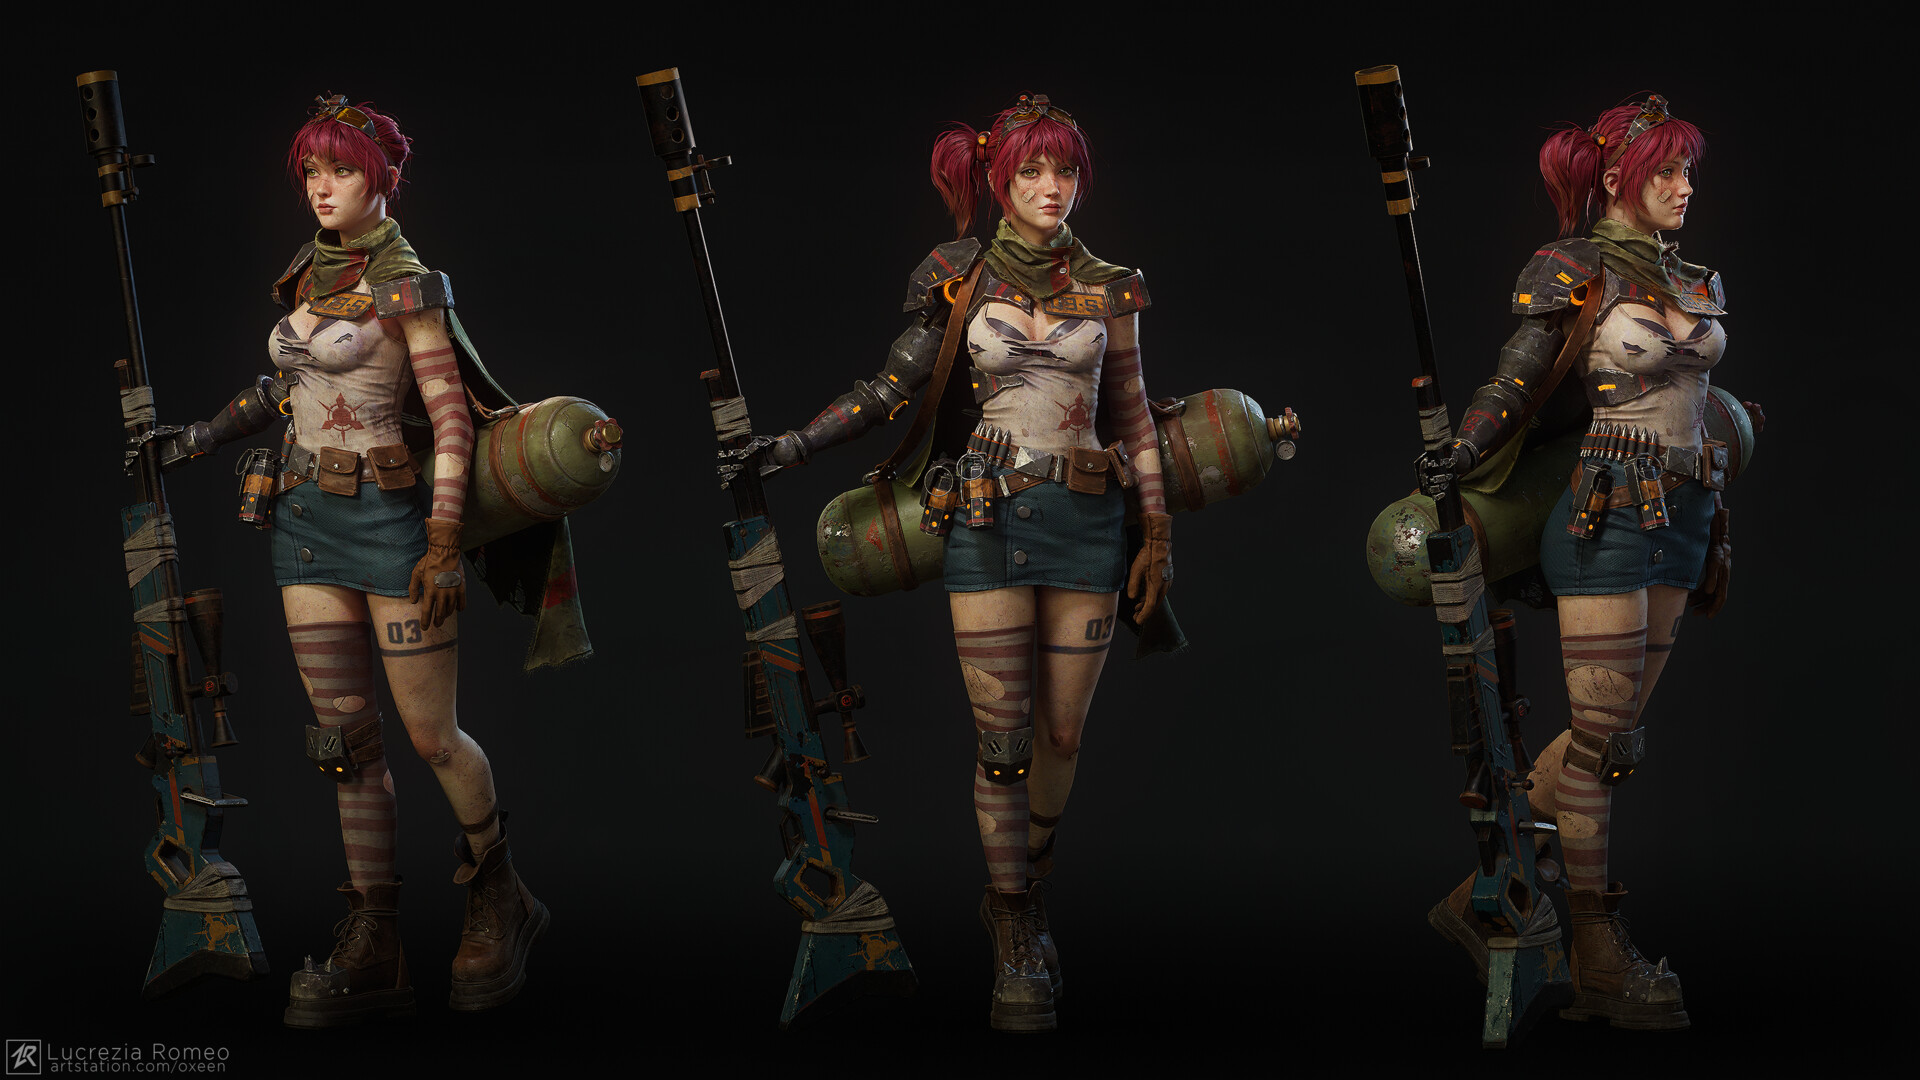
For the latest episode of Pixel Peeps, I sat down with Lucrezia Romeo, who recently completed a fully-animated, beautifully textured character that looks like it belongs in a triple-A trailer. It’s called Wastepunk, and it started from scratch, as in, literally a sphere.
We talk about:
Why she started Wastepunk Lucrezia took on the project during school, aiming for a “full package” portfolio piece that could showcase her skills across the board; leather, fabric, skin, hard-surface modeling, and even a gun. It became her personal thesis, pushing her through every step of the game character pipeline.
→ Key takeaway: Let your project dictate what you need to learn next.
Scope, setbacks, and surprises
What was supposed to be a tutorial turned into a year-and-a-half-long learning experience. Because it stretched over so much time, her skills improved dramatically and she often went back to fix earlier work. She also started animating just for fun, then couldn’t stop.
→ Key takeaway: Big projects teach you as you go. You won’t know everything upfront and that’s the point.
Blockout to beauty
She started from a sphere in ZBrush, blocking out every muscle by hand with guidance from a great teacher. She used Q cubes and ZModeler for clothing, stuck with clean topology from the beginning, and used ZWrap with a Vincent Meunier base mesh for projection later on.
→ Key takeaway: Keep your blockouts simple and clean. It’ll save you in retopo later.
Texturing & Material Workflows
Her Substance Painter scene was split into files to avoid slowdowns. She used GB Skin as a base and built up dozens of layers for veins, pores, scars, dirt, makeup, and more. Blending in overlays, spec maps, and hand-painted roughness to get the final look.
→ Key takeaway: Great textures aren’t just about the albedo. Roughness, subtle height, and dirt layers do the heavy lifting.
Hair cards in ZBrush
Lucrezia modeled her hair cards using custom IMM brushes with pre-mapped UVs. She laid everything in ZBrush, previewing texture transparency with GoZ for iteration. Final placement was tweaked in Marmoset.
→ Key takeaway: ZBrush hair cards + GoZ to Max is a solid, iterative workflow.
Animation in Blender
What started as a basic idle loop turned into five months of animation; blinks, breathing, valve turns, weapon handling. She layered everything in Blender’s NLA system and used a plugin called Wiggle for secondary motion on bones.
→ Key takeaway: Layered animation workflows let you iterate without breaking what’s working.

Lighting and Lookdev
Her final renders were done in Marmoset with spotlights, custom post-processing, and subtle highlight meshes to direct attention. She even used ChatGPT to help write custom Marmoset shaders for eye glints.
→ Key takeaway: Don’t underestimate small lighting tricks. Controlled highlights elevate your final render.
Proportion & polish passes
After baking, she kept adjusting proportions; waist, neck, head size, all directly on the low-poly. Because cameras were already locked in, she scaled the body instead of the head to get the look right.
→ Key takeaway: Trust your eye. It’s never too late to make a change if something feels off.
Playable in Unreal Engine
Yes, she imported it into Unreal. Full physics, rigged animation, playable character; cape wiggles, ponytail swings, gun jiggles. She didn’t post it, but it exists.
→ Key takeaway: You don’t have to stop at presentation. Push it into engine and see how it holds up.
Bottom line:
Wastepunk wasn’t just a model, it was a proving ground. If you’re looking for a roadmap, don’t look further than your own ambition. Pick something hard, and let the project teach you what you need next.
🎙️ Apple Podcasts
🎙️ Spotify
🎙️ Amazon Podcasts
 |
|
|