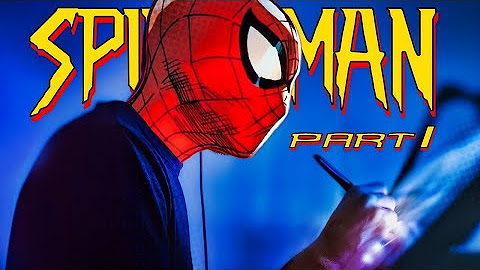
I just wrapped up my Spider-Man model and these are these are my takeaways after nearly 100 hours of trying things out and attempting to be “fast”.
I decided to make a Spider-Man because I wanted a project that was simple enough to experiment with and try out some new techniques. And honestly, because my kids think he’s is cool. Who doesn’t.
At first, I imagined it as a quick project but once I started, I found myself spinning my wheels. Without a clear direction for the design, I struggled with every small decision. When I would make something fast to avoid overthinking it, I’d end up redoing it days later. Sound familiar?
Make a rough draft of everything first. Polish comes from knowing what to make.
my lack of planning first cost me more time in the long run and limited the final quality I could achieve.
Here’s how you can learn from my mistakes and:
- Design for yourself
- Make models that work
- Create polished textures
1. Plan to Commit
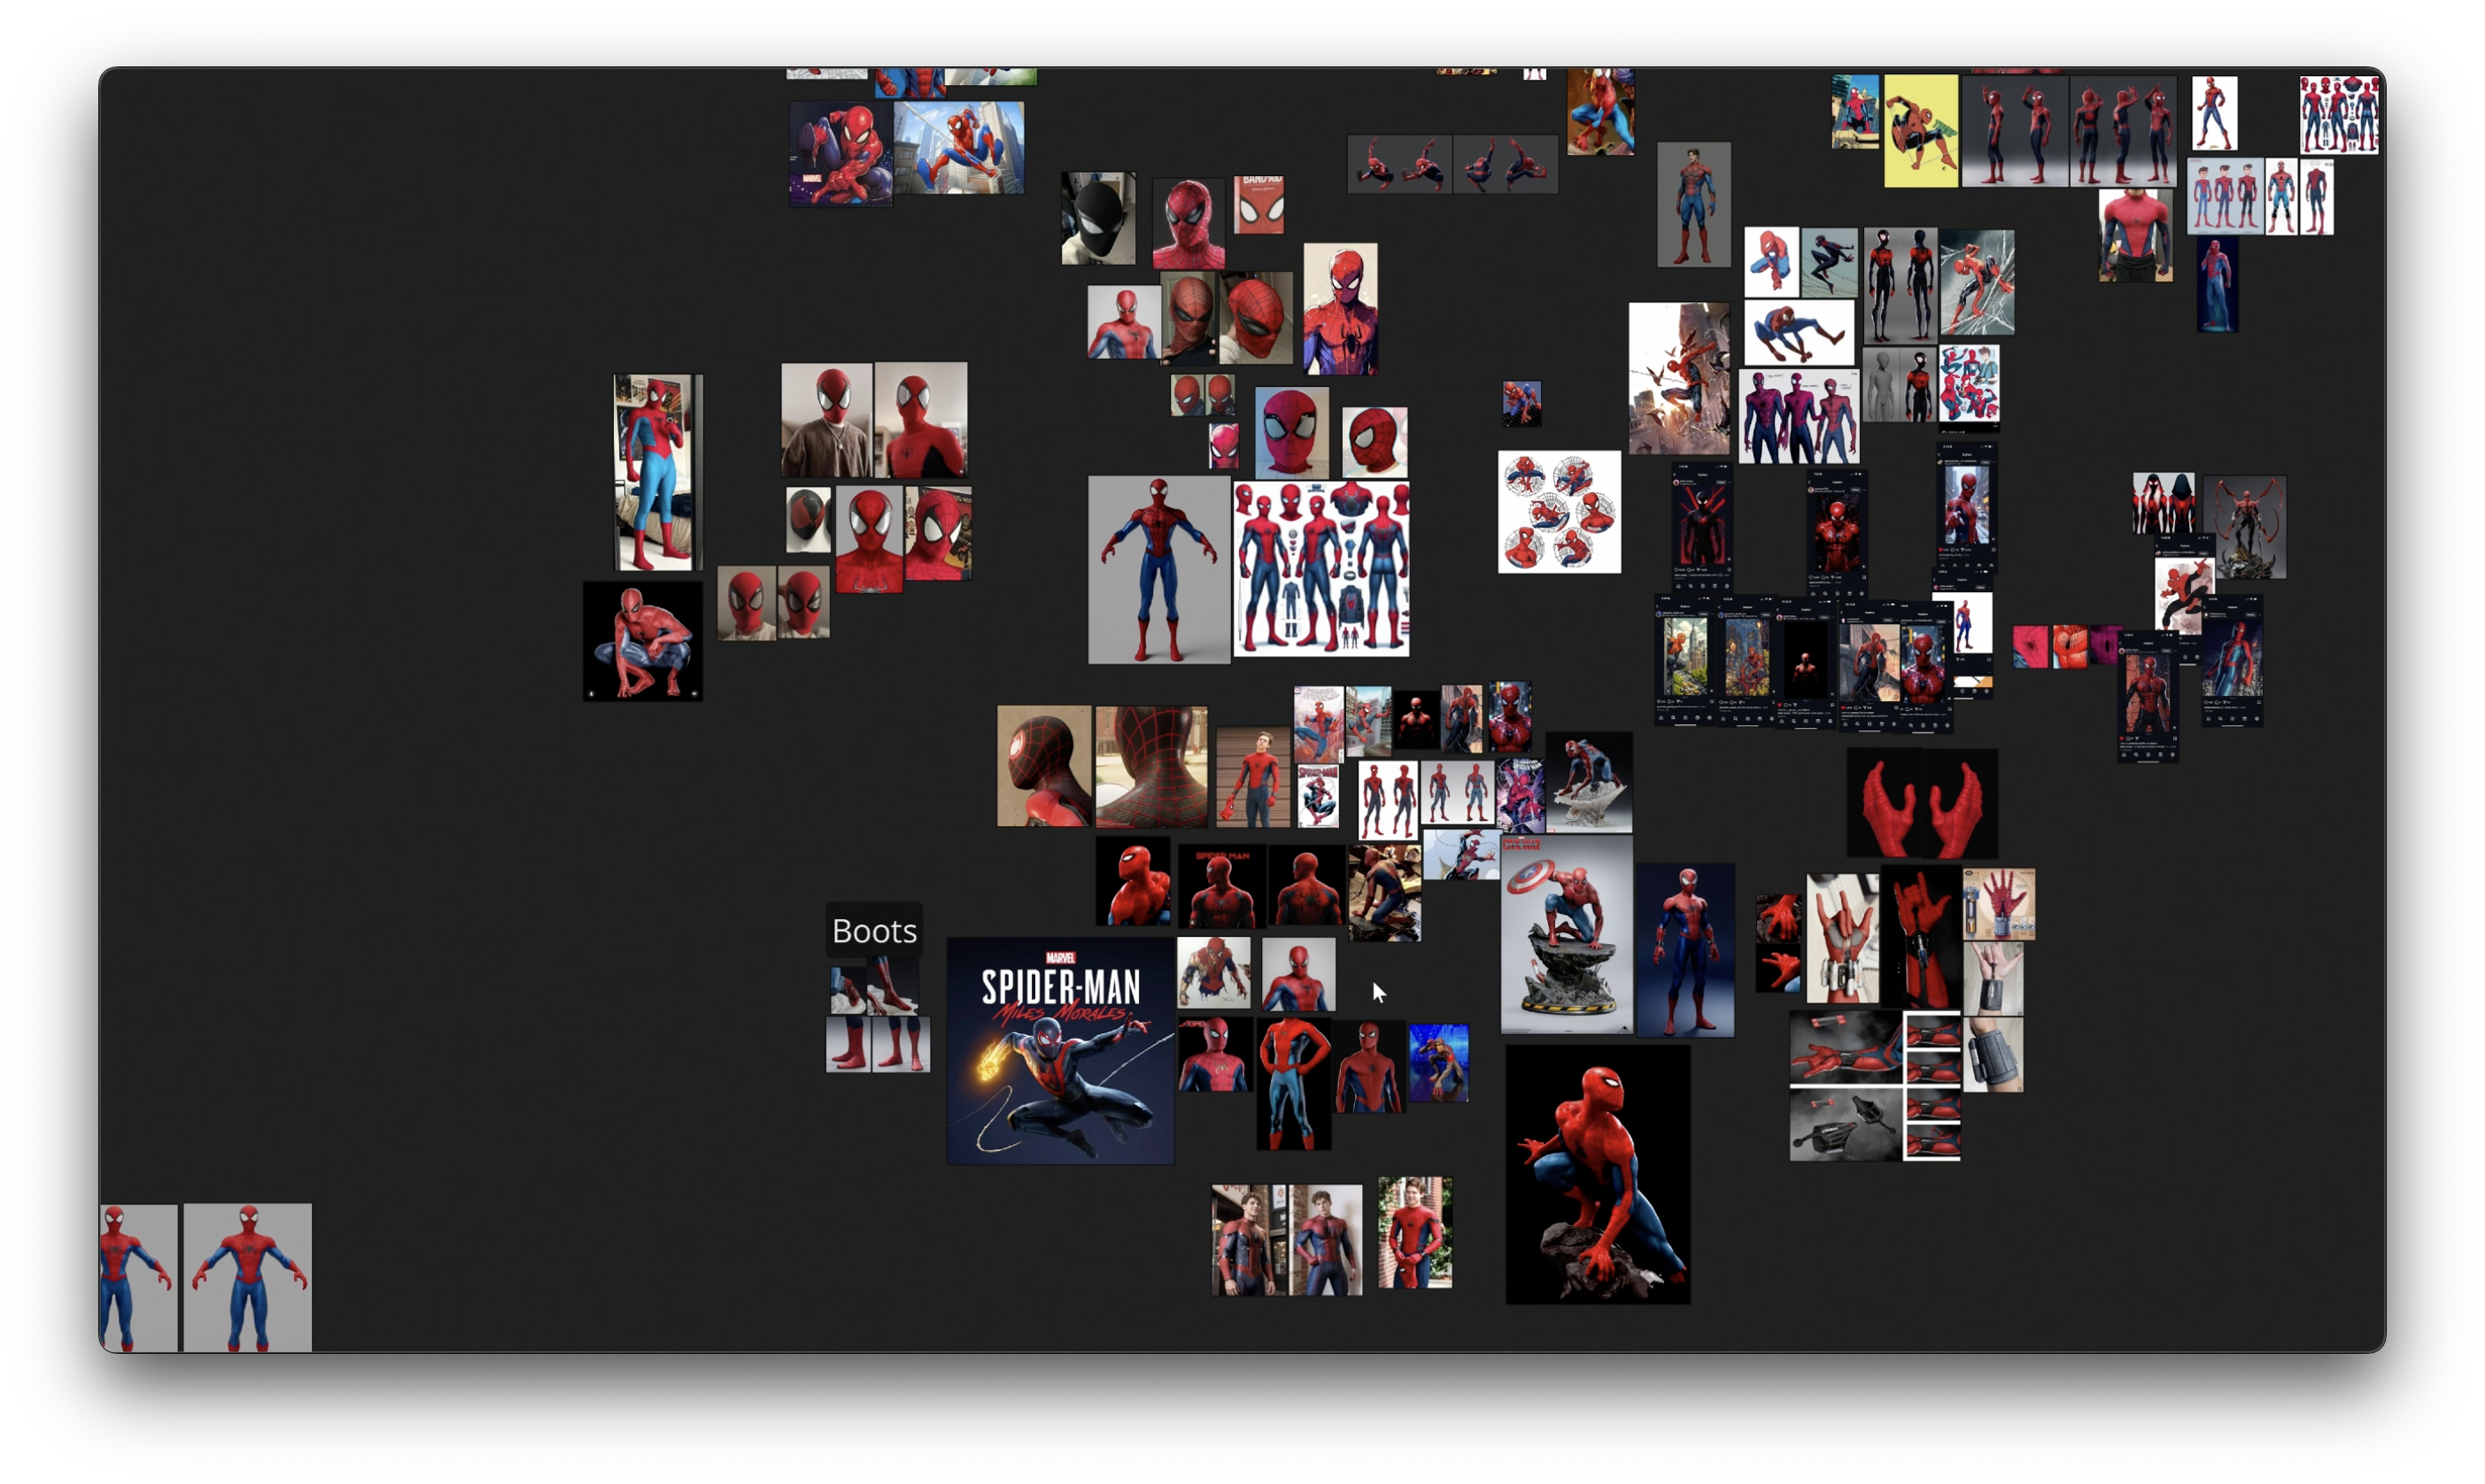
You need to have a clear design & references before you can make a good model. That can be extra complicated when part of your plan is to partially design or “find” some solutions during the process. That’s a bad plan. It’s always a bad plan. So what do you do if you’re design isn’t clear? You make a clear design your first goal and worry about the model later. I fell into the same trap I see students do and that I advise against, I was trying to make the actual model while I was also playing with the design. You can’t do both and the back and forth that naturally happens is what causes re-work. So you separate the two. First is the design. I could’ve keep working on Spidey in ZBrush and drawn the suit design on the model with polypaint to try out patterns. Taken it into Photoshop to play with proportions, colors, and eye shapes. Done a temporary pose in T-Pose master and rendered it out to get a sense of the final character all before starting on the “final” model. This is what I would do in a production too. In trying to make this a quick project, I jumped in thinking I could speedrun everything but you can’t always skip over process steps. Even when going fast, following the fundamental steps is crucial, you just spend less time at each. Once you know what you’re building, every decision afterward can be an improvement.
💡 Takeaway: The more time in the planning stage ends up saving time in the long run and enables more polished looking models.
2. The Cost of Rushing
I ended up remaking all the trim, cleaning up seams, and even modeled the eyes 3 times. The first pair of eyes looked fine until I had to animate them. Just some of the price I had to pay by jumping in without thinking too much and going “fast.”
The timeline went like this: sketch eyes, model eyes, plan a shot where the eyes squint, make a new model that can squint, re make the eyes to look just like the first eyes but can squint like the second eyes. sigh.
There was other re work on the model but this is a good example. How could I have avoided at least some of the rework? A shot list. a sketchy storyboard. Again, because I was the modeler and the one making of the action and edit I just tried figuring it out all as I went. If this were a production, that would’ve been impossible. The storyboard would be done before the model starts. You have to know what the character model needs to do to make it correctly.
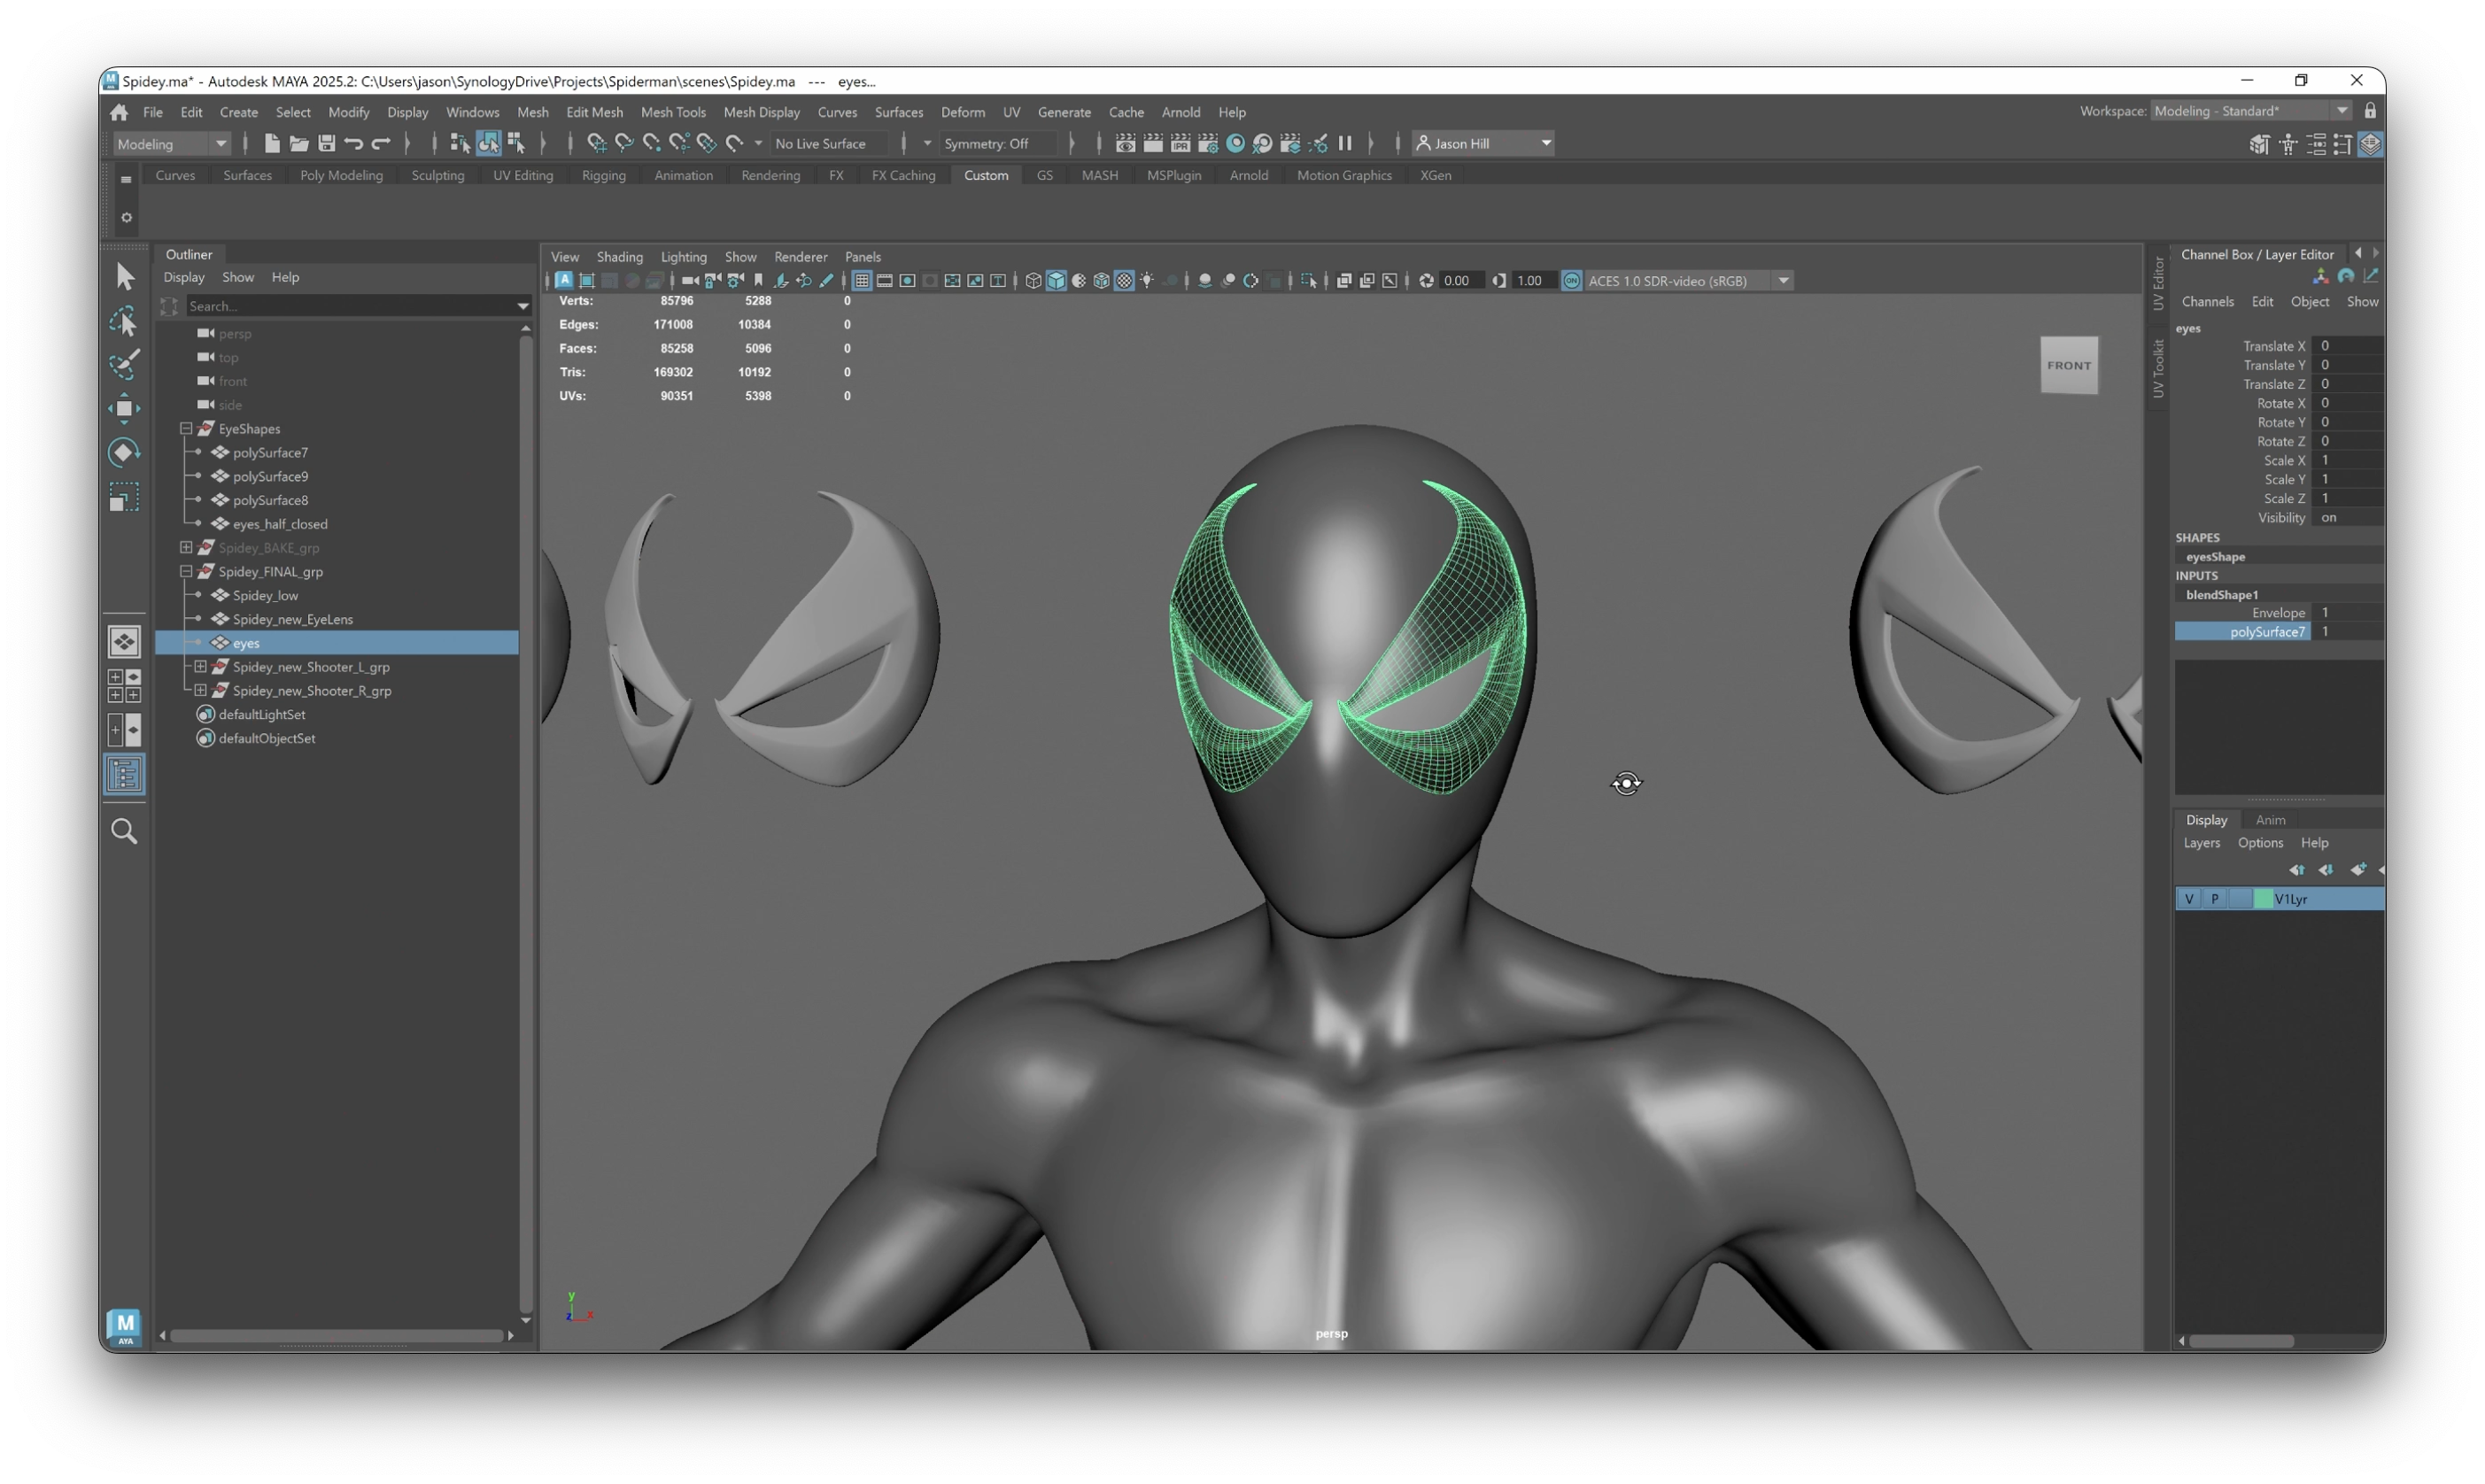
💡 Takeaway: What a model has to do determines how it must be made. Form follows function.
3. Polish Begins With UVs
Because I hadn’t finalized the design when I unwrapped the model, the UVs didn’t support the final layout of the suit design. The web lines and trim details crossed over UV seams I hadn’t planned for, which meant tiny distortions and visible seams that I couldn’t fix. By the time I realized it, re-unwrapping would’ve meant too much rework for this quick project.
I did my best to carefully paint across the seams to minimize the distortion and even painted a custom anisotropic texture map to fix a visible seam on the arm. Nothing I could do about the suit material pattern though. Ultimately though, I’m happy with it at a distance and in motion, it just wouldn’t hold up to scrutiny in a high resolution still.
What would’ve been the best method for the cleanest textures? Remember the first point, to plan out the design first with ZBrush before starting the final model. If I had a model of Spider-Man with the lines painted on him, even though temp, I’d know where to put edges to support the shapes and hide the seams. Even improve the anisotropic specularity if I knew I’d be doing that (planning.)

💡 Takeaway: Clean and polished looking textures starts with UVs
Ultimately, these set backs weren’t a big deal and I don’t feel a strong sense of regret but I do feel the need to burn these lessons into my brain because I’d like to do bigger, more elaborate projects. I will have to be more disciplined with process and the order of operations to make big things in a reasonable amount of time.
Check out the final animation along with the process condensed into 5 minutes 👇
|
")
In the end, the thing that made the project worth finishing wasn’t the shaders or the lighting setup — it was showing it to my kids. Watching them jump up when they saw Spider-Man move, pointing and laughing and thinking their dad made that, reminded me why I do this in the first place.
It’s easy to get so deep into the details that you forget the simple point of making things is to express something, to learn, to share. This project taught me that better planning leads to a better result, but also that the result isn’t everything. The real payoff is creating something that connects with people, especially those closest to you.
For anyone super interested, I made a playlist of all my members-only videos that's 10+ hours of the process 👇
 |